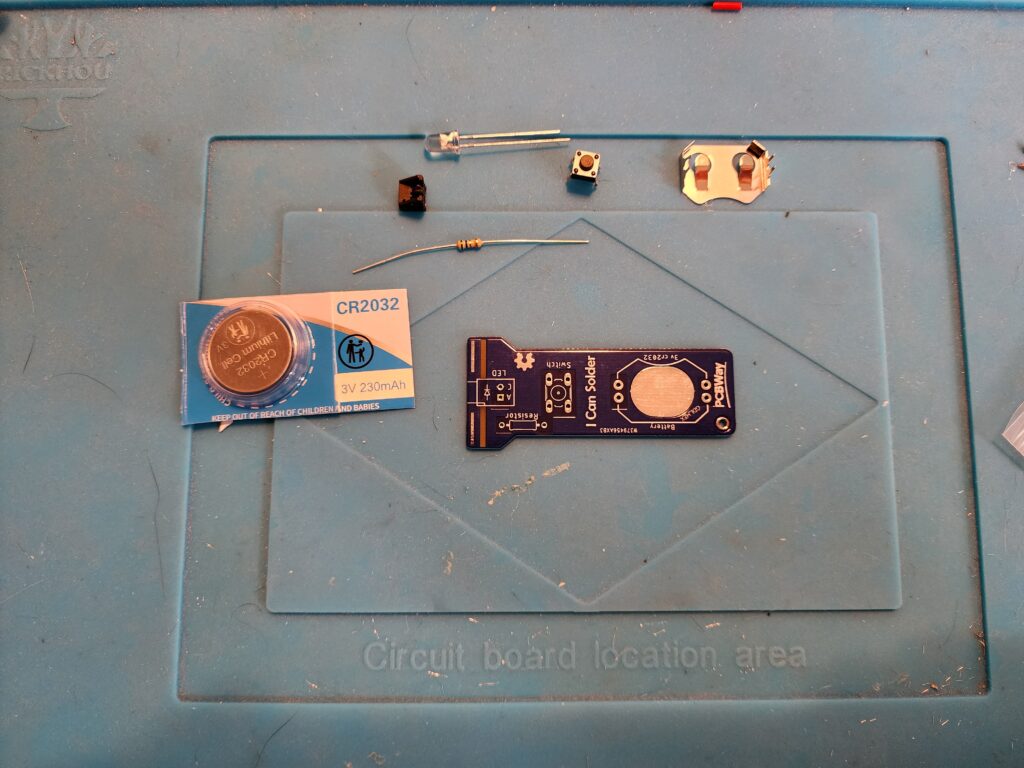
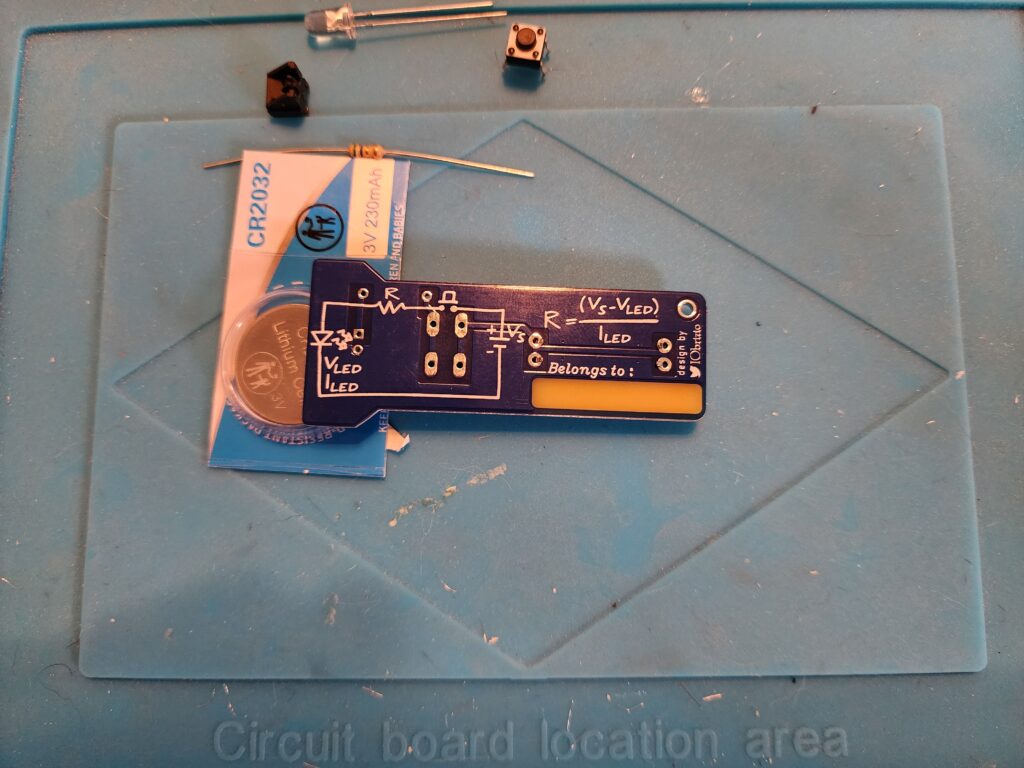
Step 1: Gather Your Components
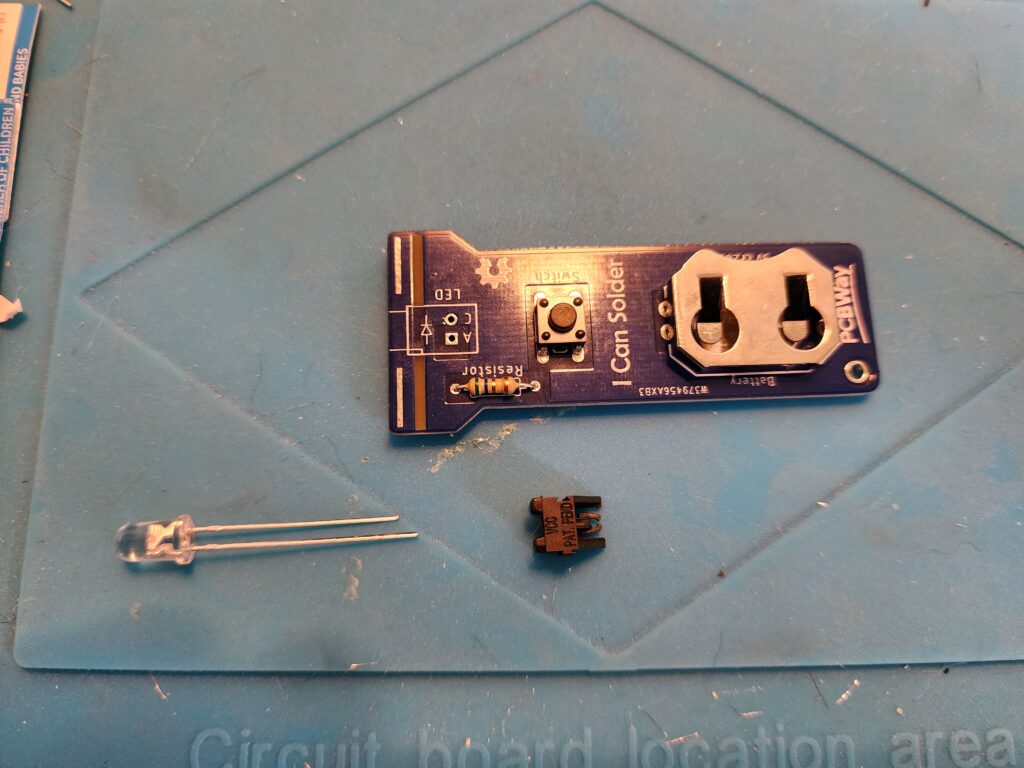
Make sure you have all the components ready:
- 1 x 2032 Battery
- 1 x Metal Battery Clip
- 1 x LED
- 1 x 90° Degree LED Holder
- 1 x Button
- 1 x Resistor
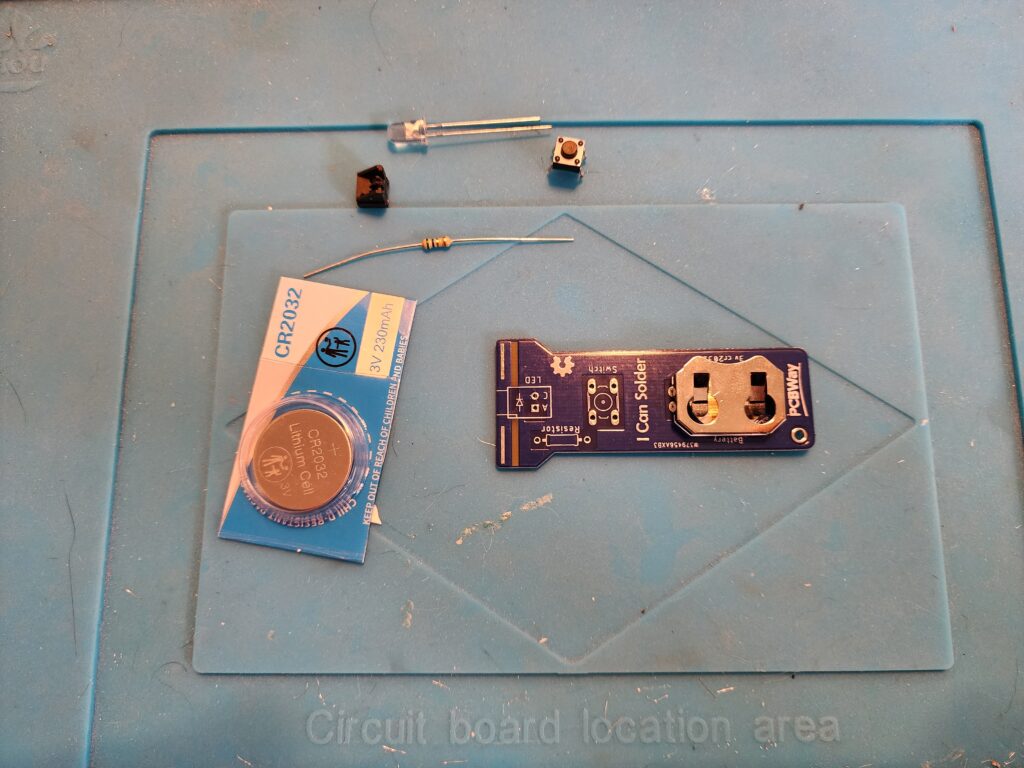
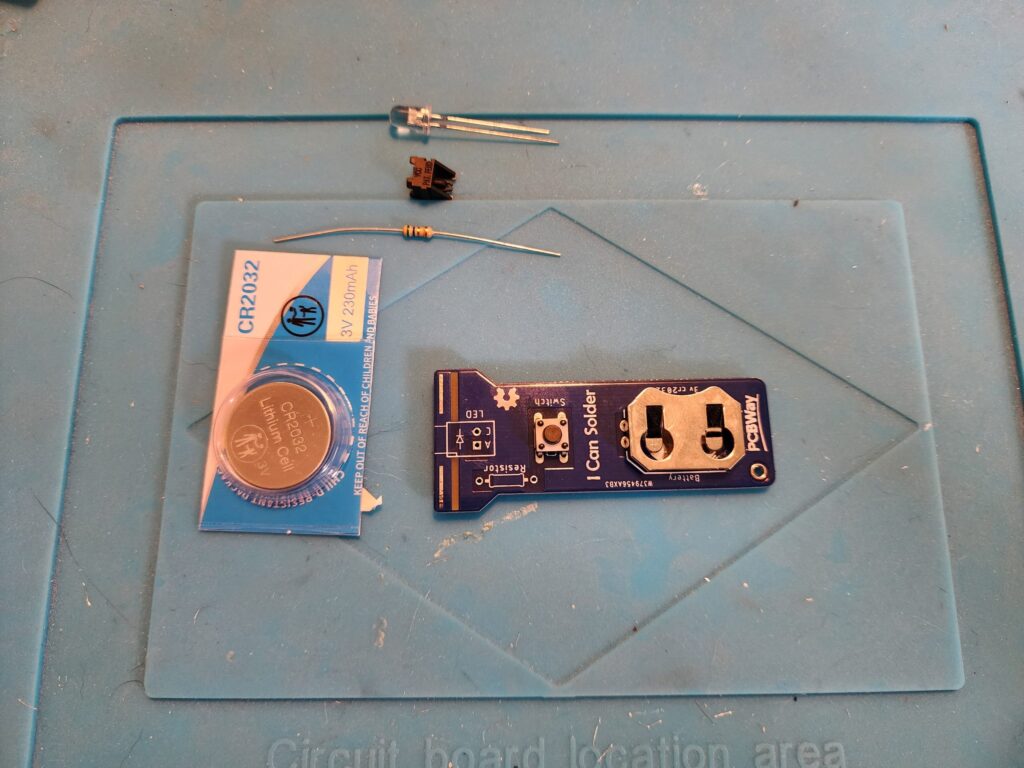
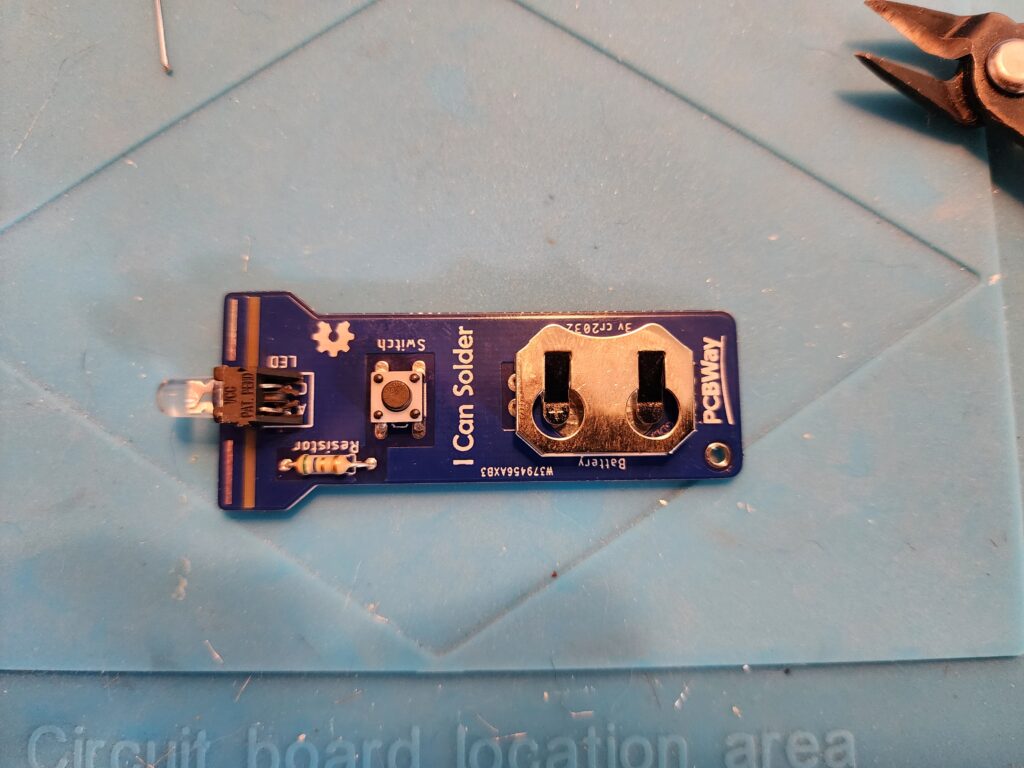
Step 2: Place the Battery Clip
Take the battery clip and place it in the shown orientation.
Step 3: Secure the Battery Clip
Flip the board and use the battery as a stand to hold the board up. Bend the legs sticking through the board flat to hold the battery clip in place, then solder them.
Step 4: Install the Button
Place the button into the switch slot, ensuring it's oriented correctly. Push the button to lock it into place.
Flip the board and solder the button.

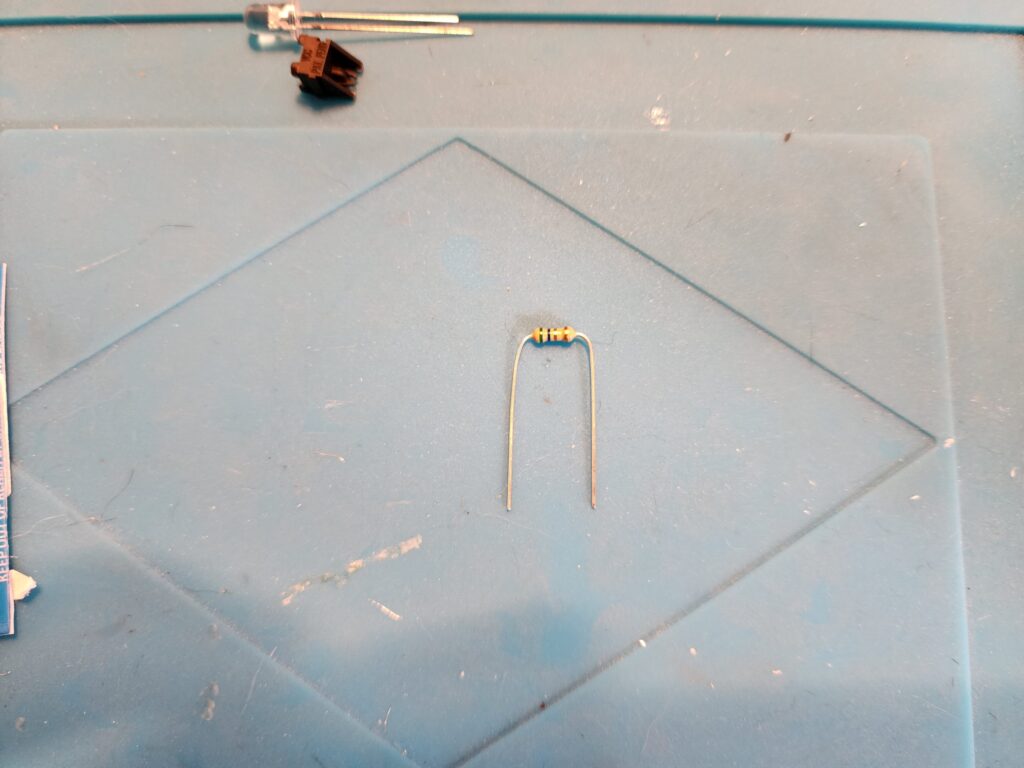
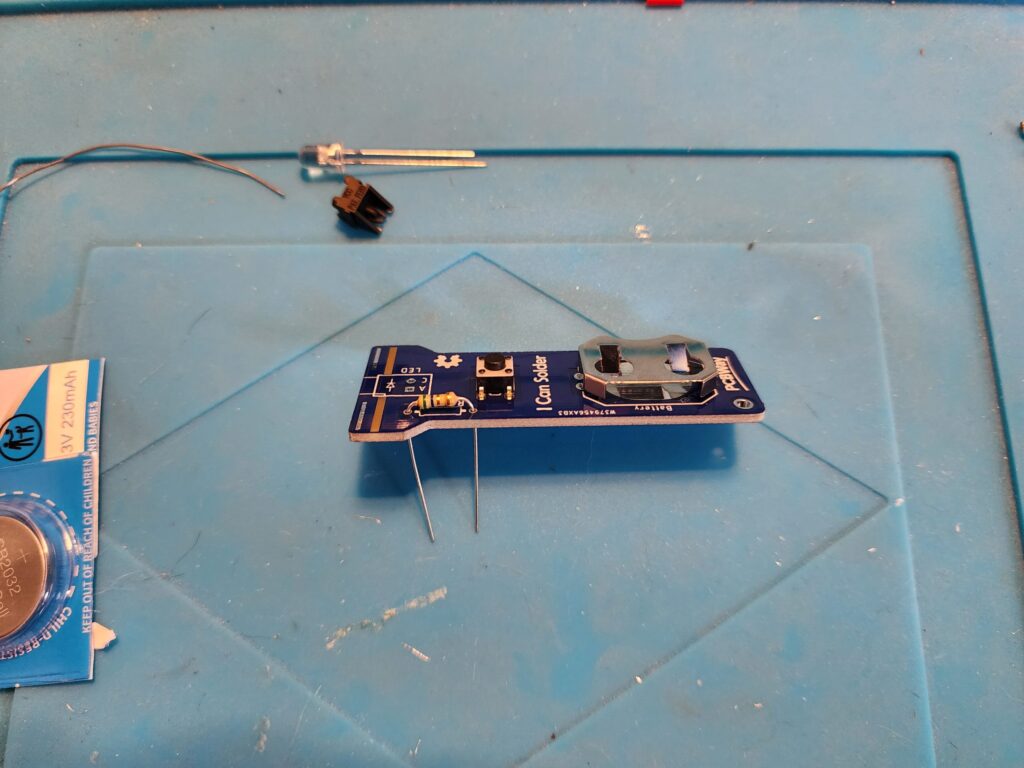
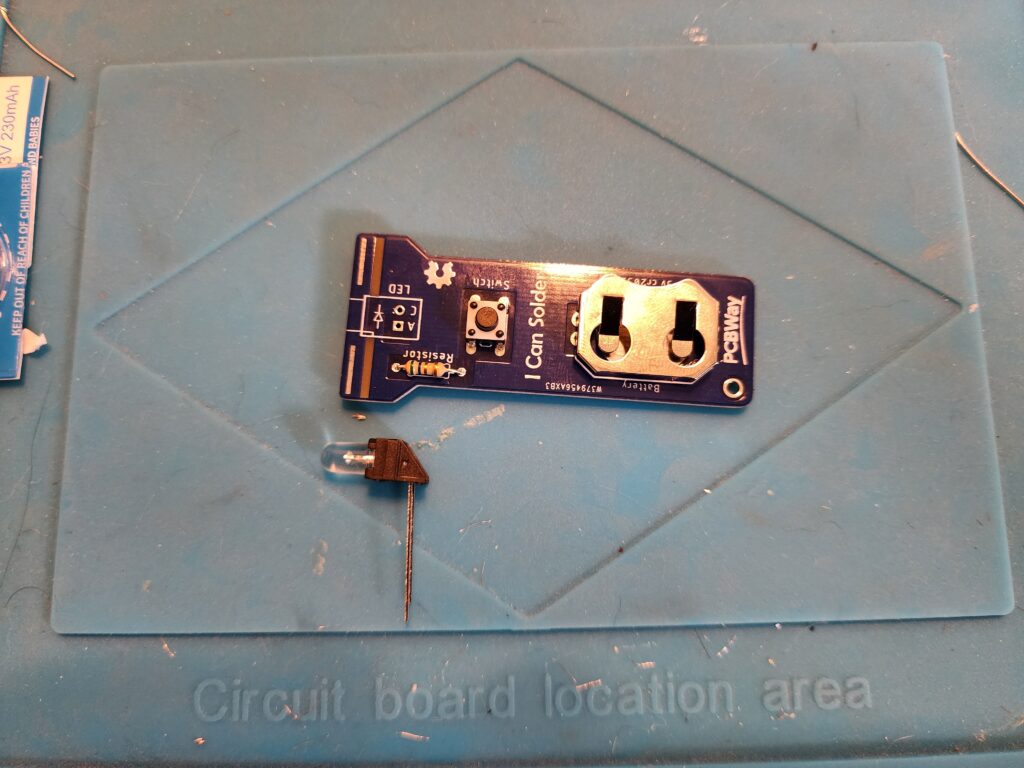
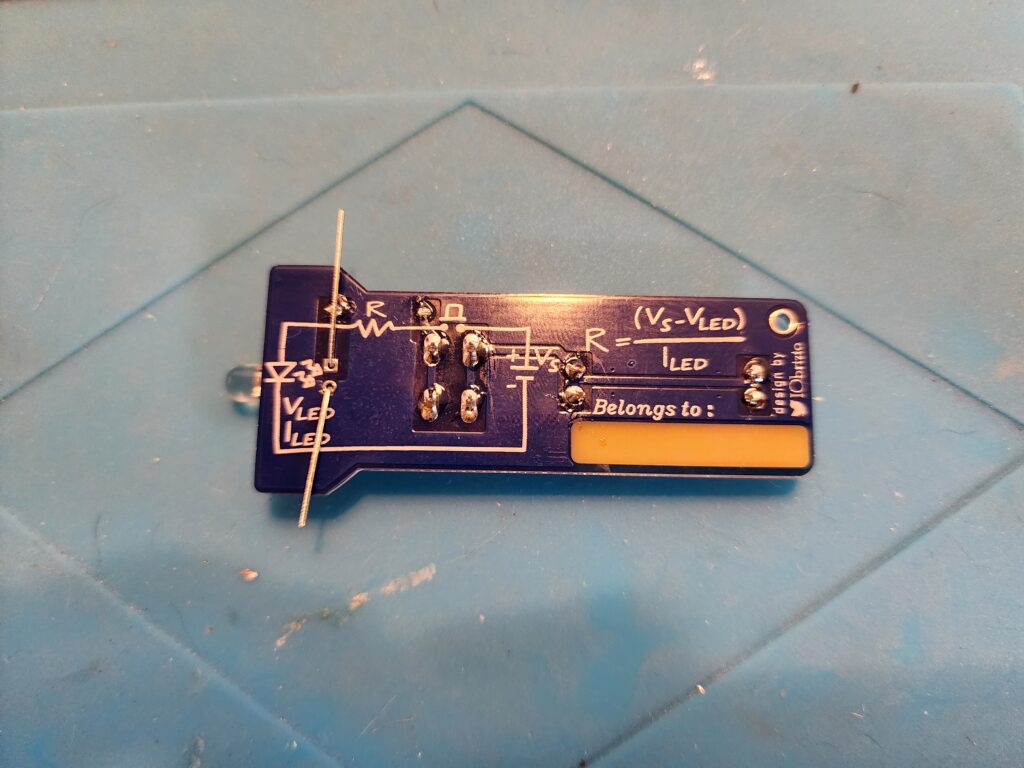
Step 5: Install the Resistor
Bend the resistor as shown and place it into the resistor spot. Pull the legs apart to lock the resistor in place, then solder.

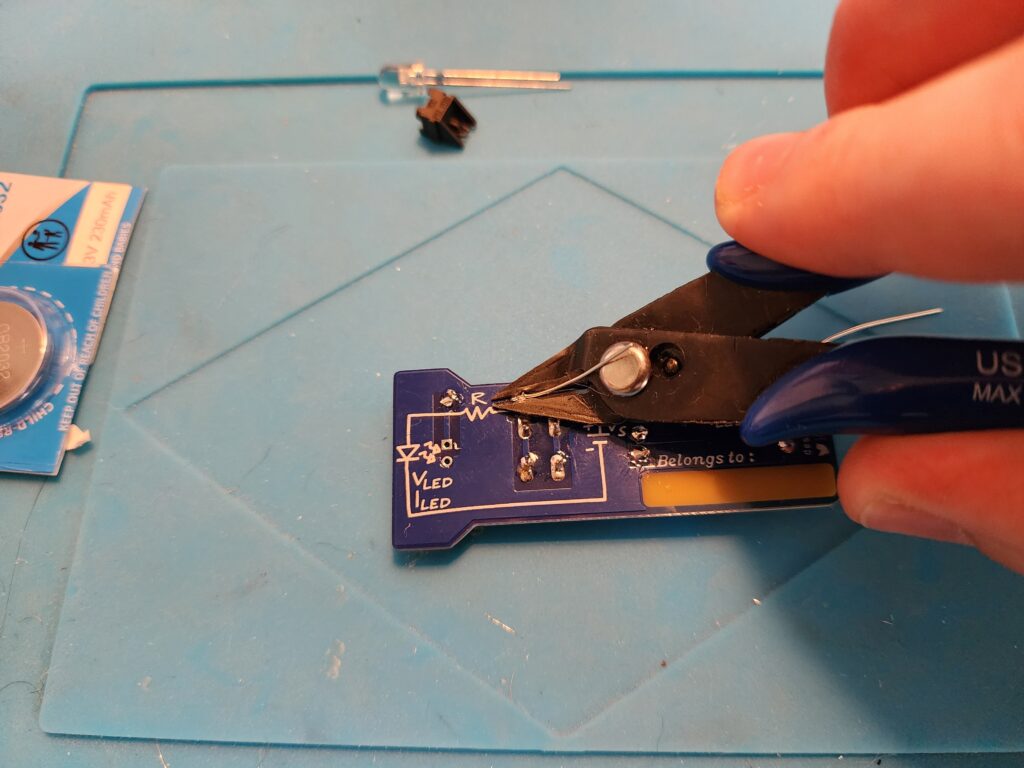
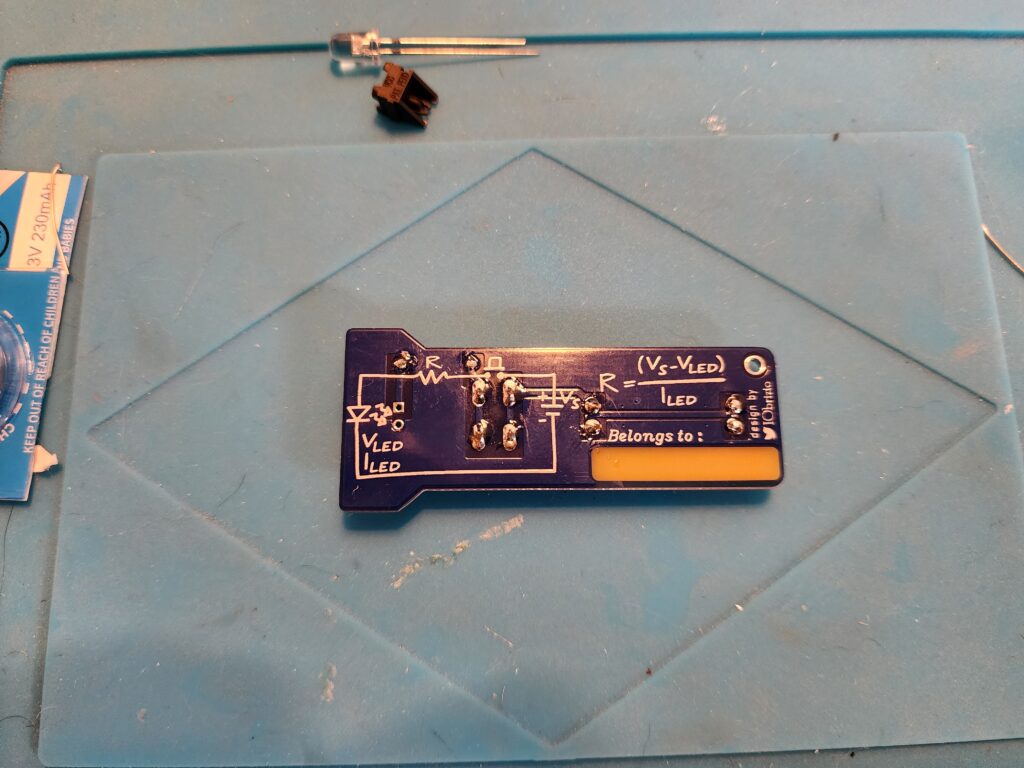
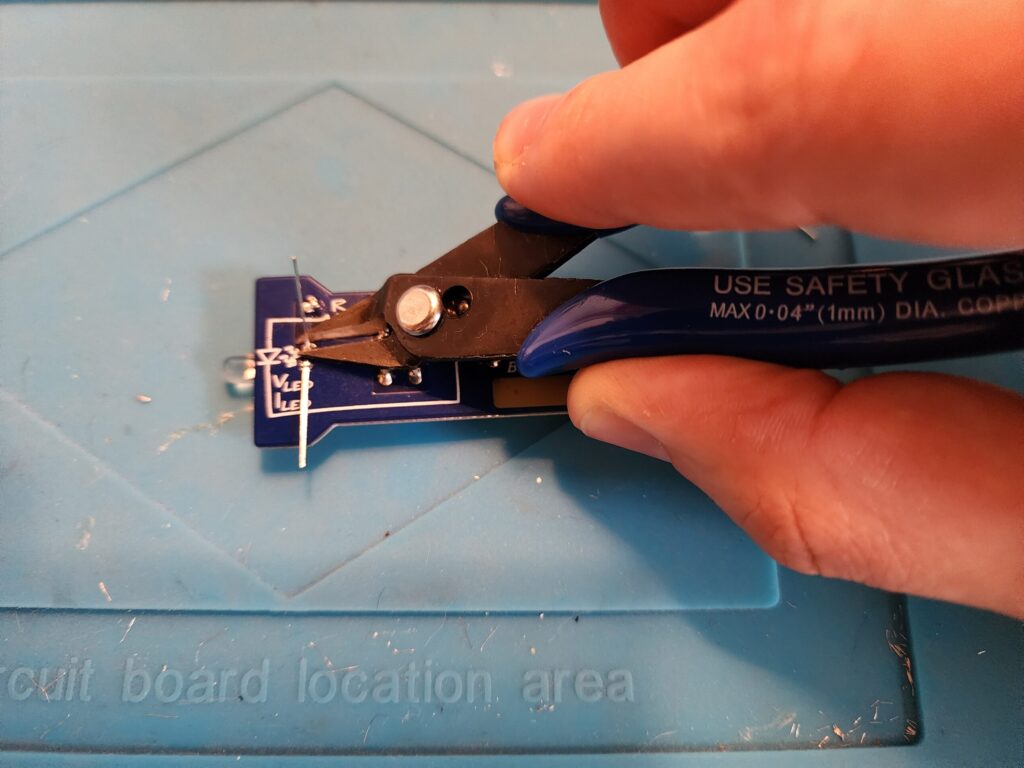
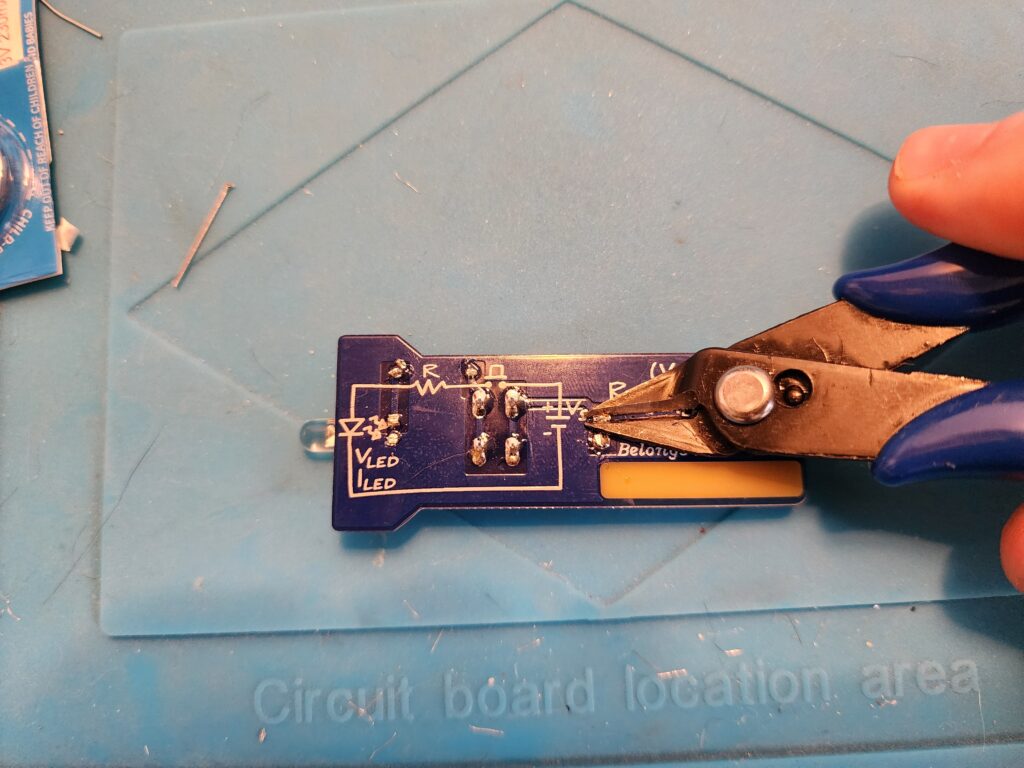
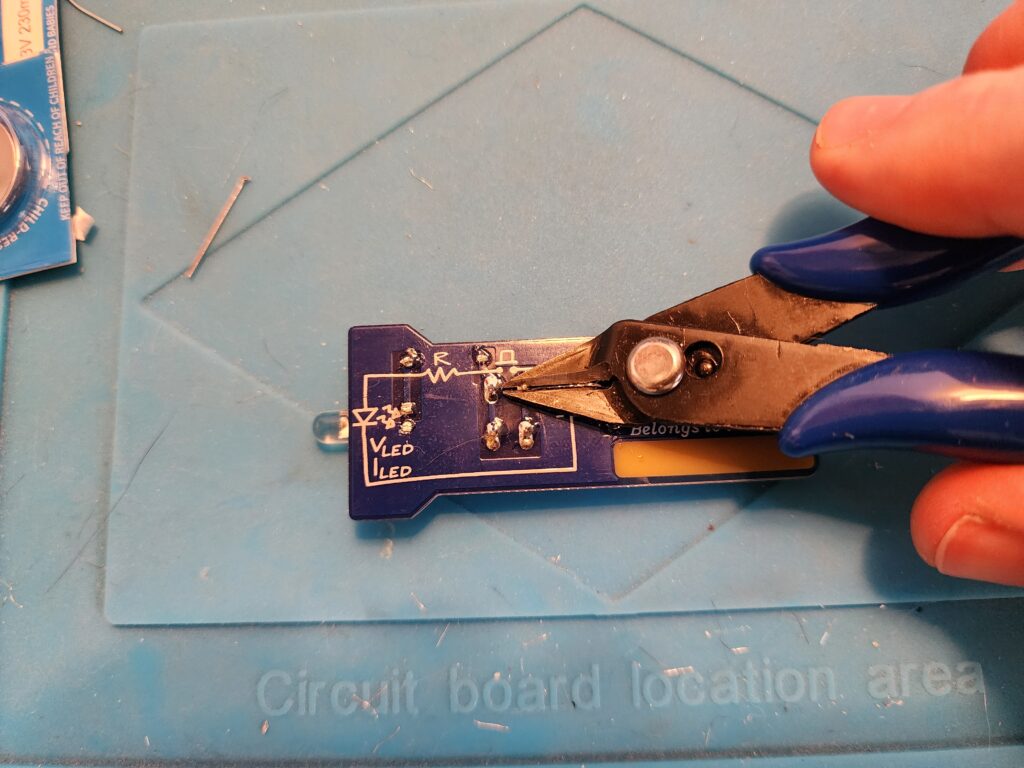
Trim the resistor legs with flush cutters.

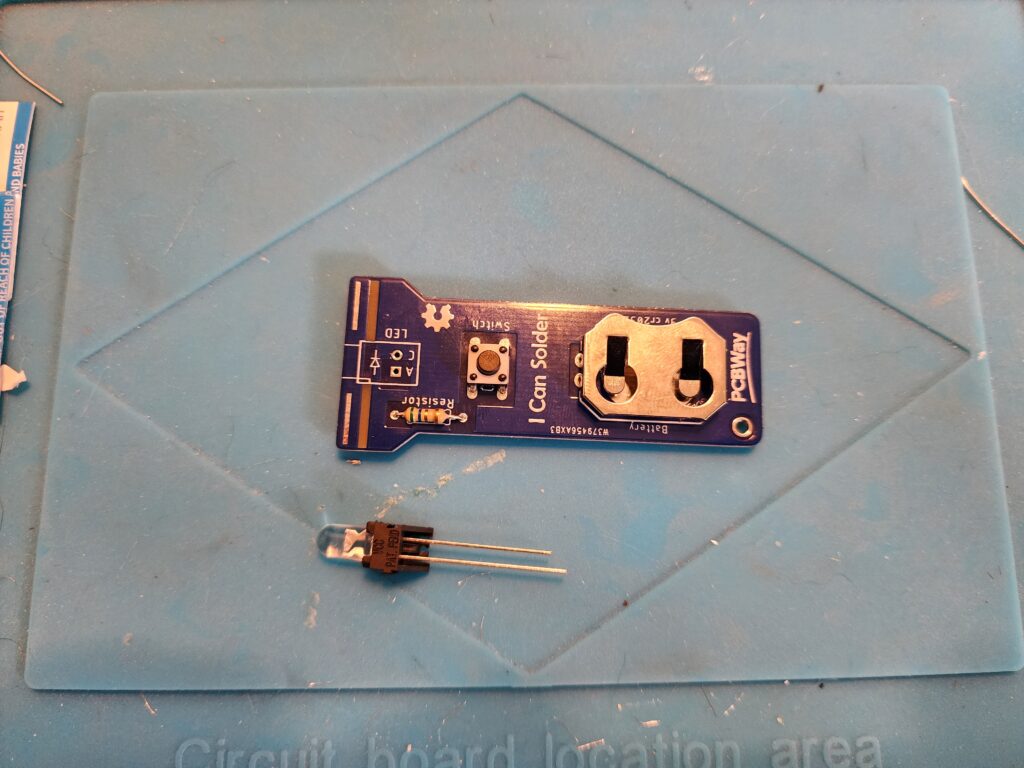
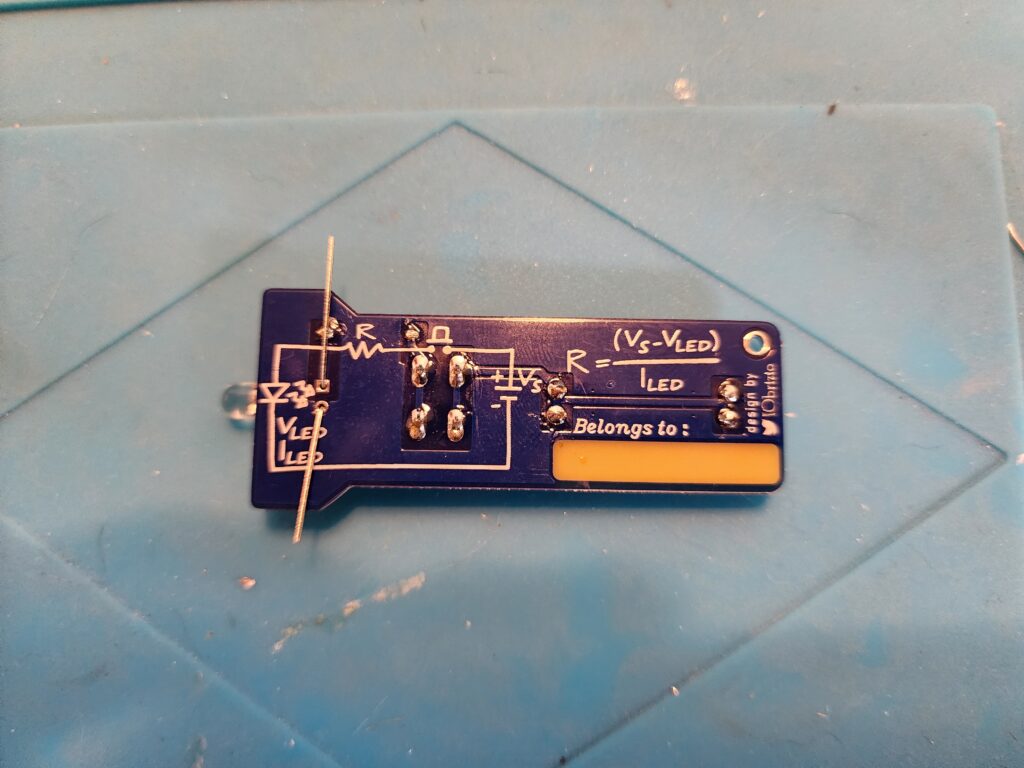
Step 6: Install the LED
Take the 90° LED holder and insert the LED, ensuring the short leg (cathode) is on the correct side. Spread the legs to lock the LED in place, then solder.
Trim the excess legs with flush cutters.
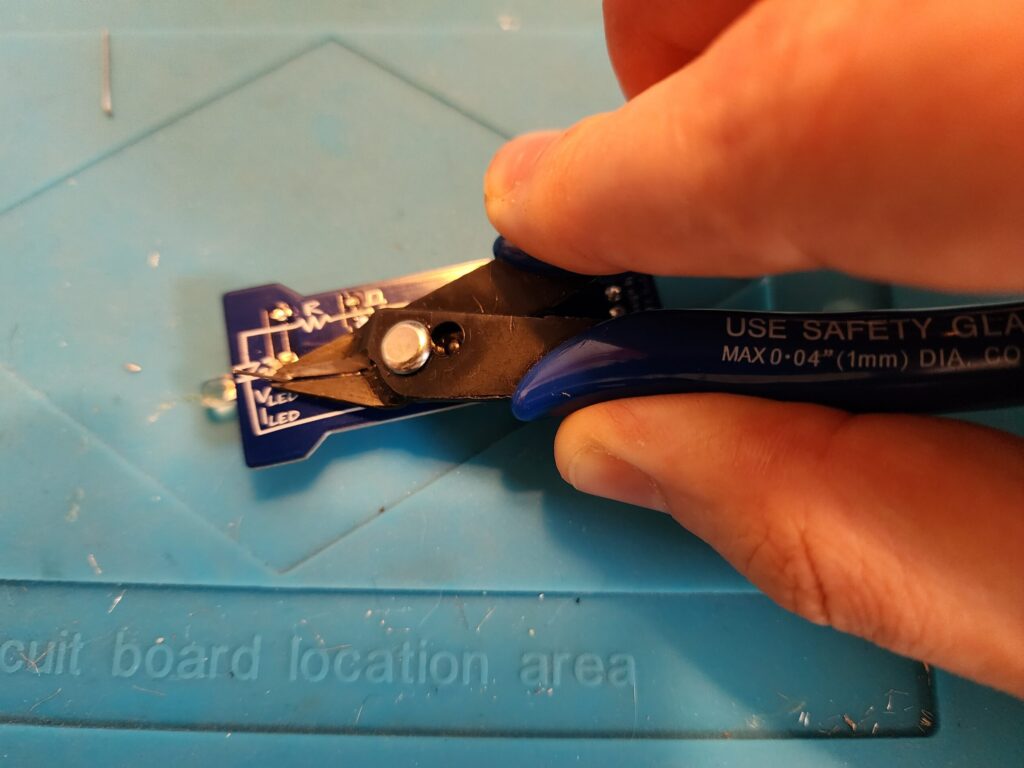
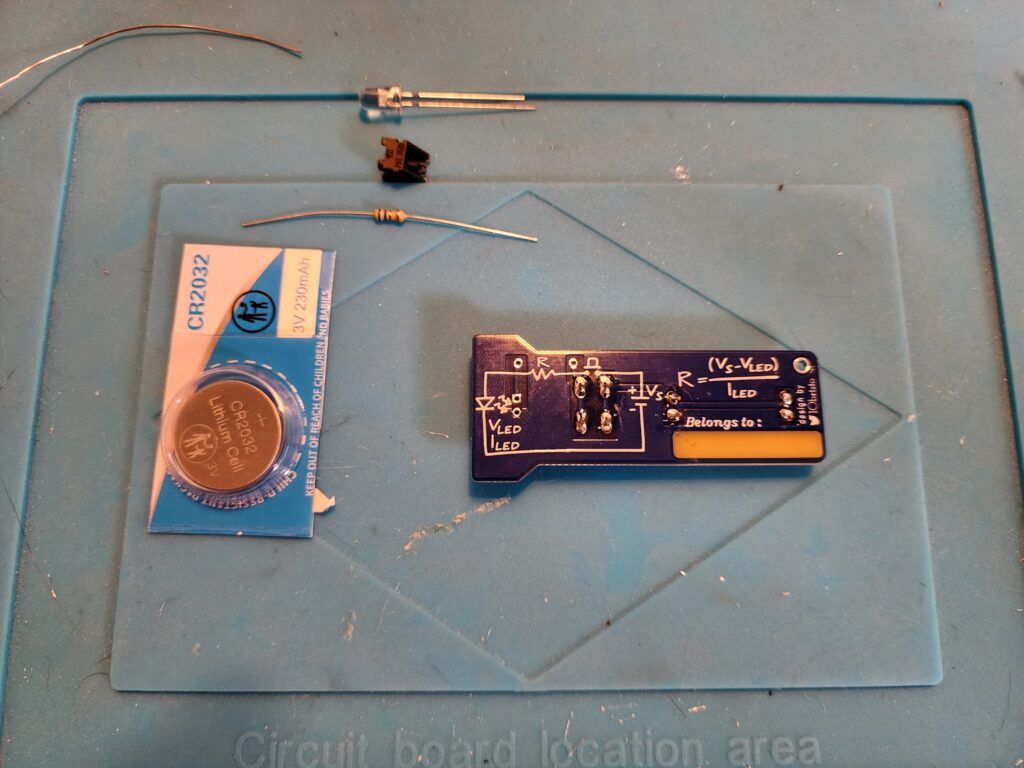
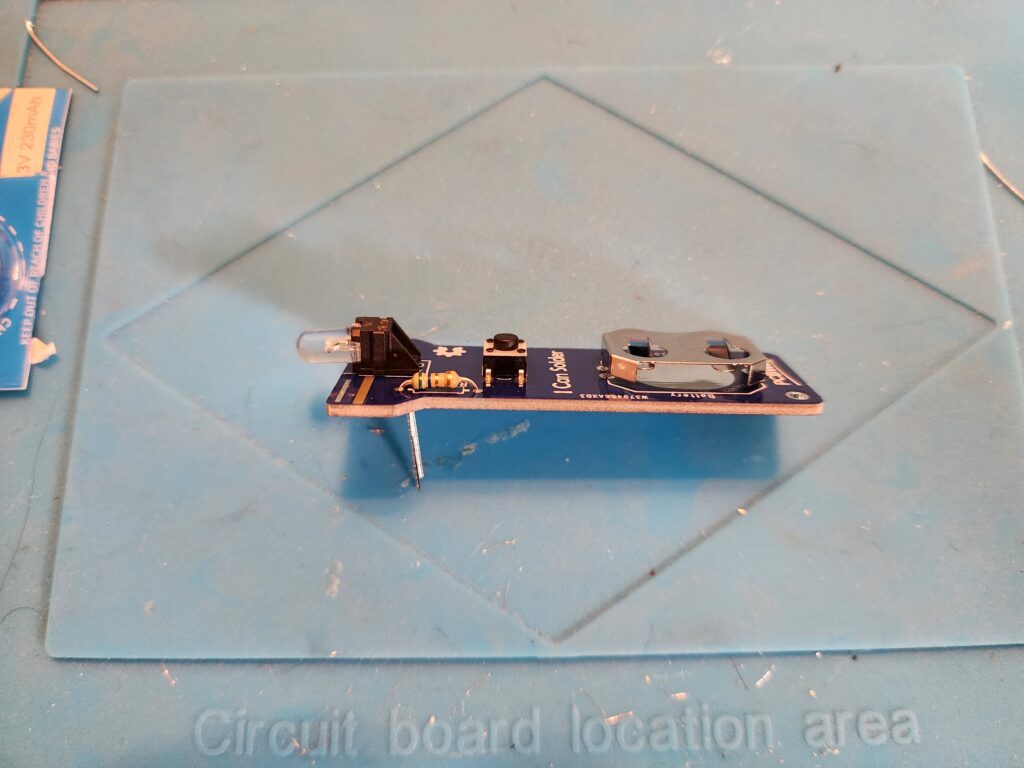
Step 7: Final Assembly
This is what the completed flashlight should look like. If any legs or pieces are sticking up, trim them down and re-solder to make them rounded.
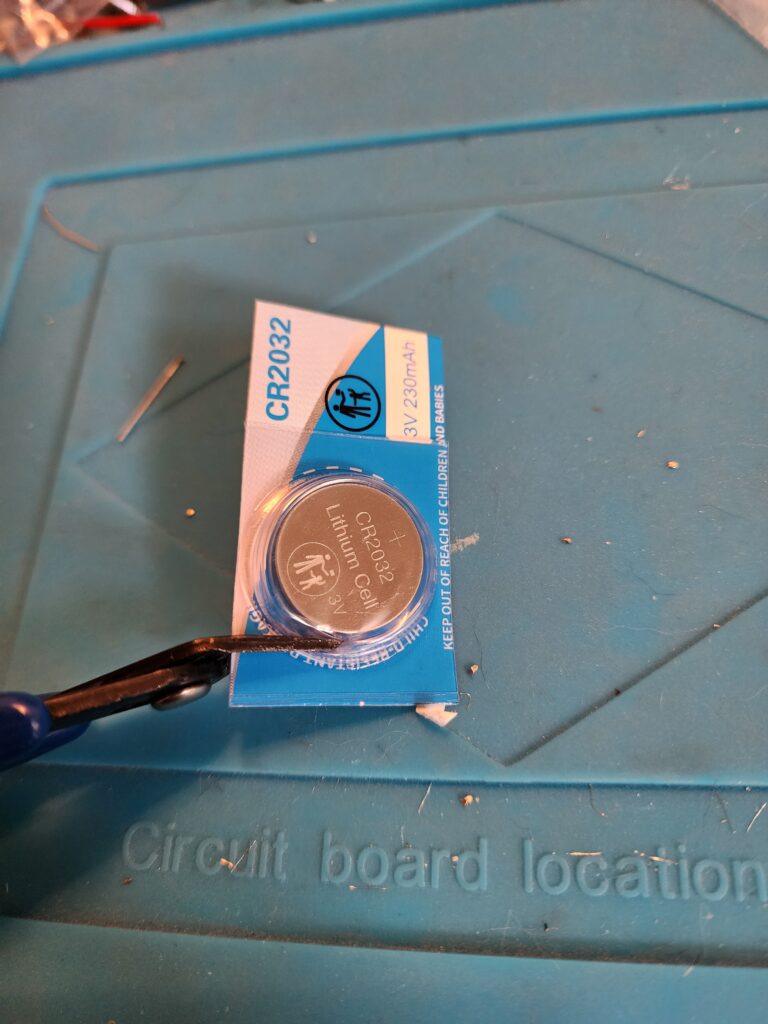
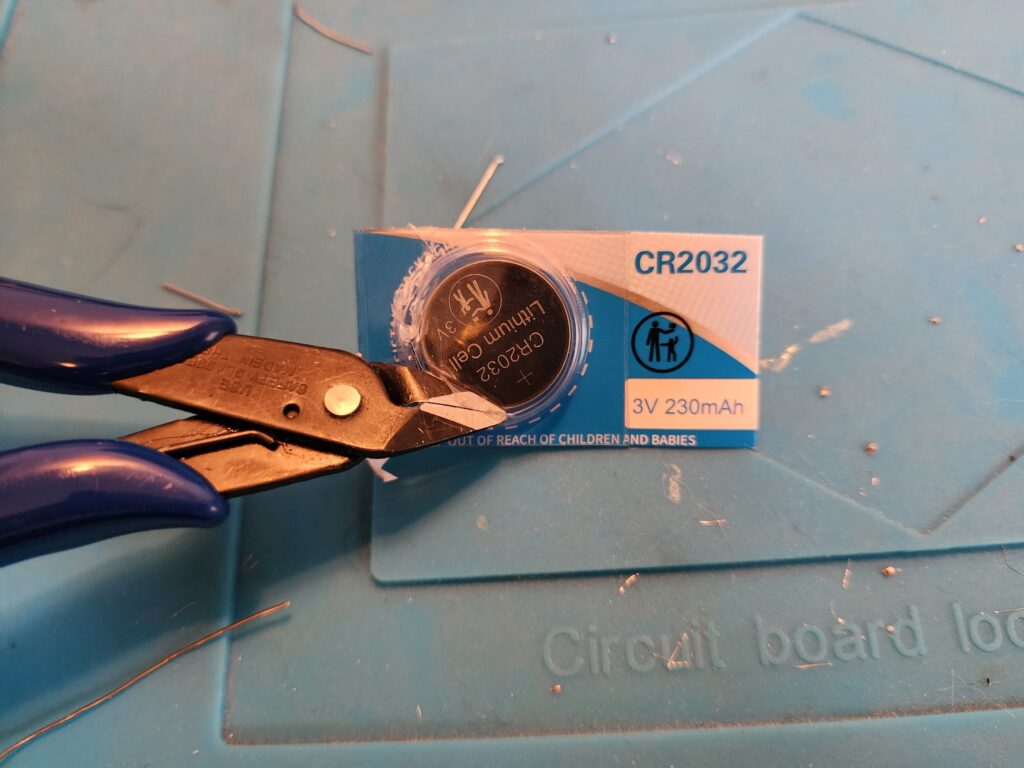
Step 8: Prepare the Battery
Most batteries come wrapped in an extra layer of plastic. Use the included clippers to cut around the top of the battery.